Blood Pressure Monitor Study
This project showcases the design process and prototyping of a blood pressure monitor. In my Bioengineering Medical Product Design class, we experimented with new prototyping techniques and learned how to study medical equipment by taking the equipment apart and reconstructing it. We learned skills such as perspective drawing, component knolling, foam core modeling, and 3D printing.
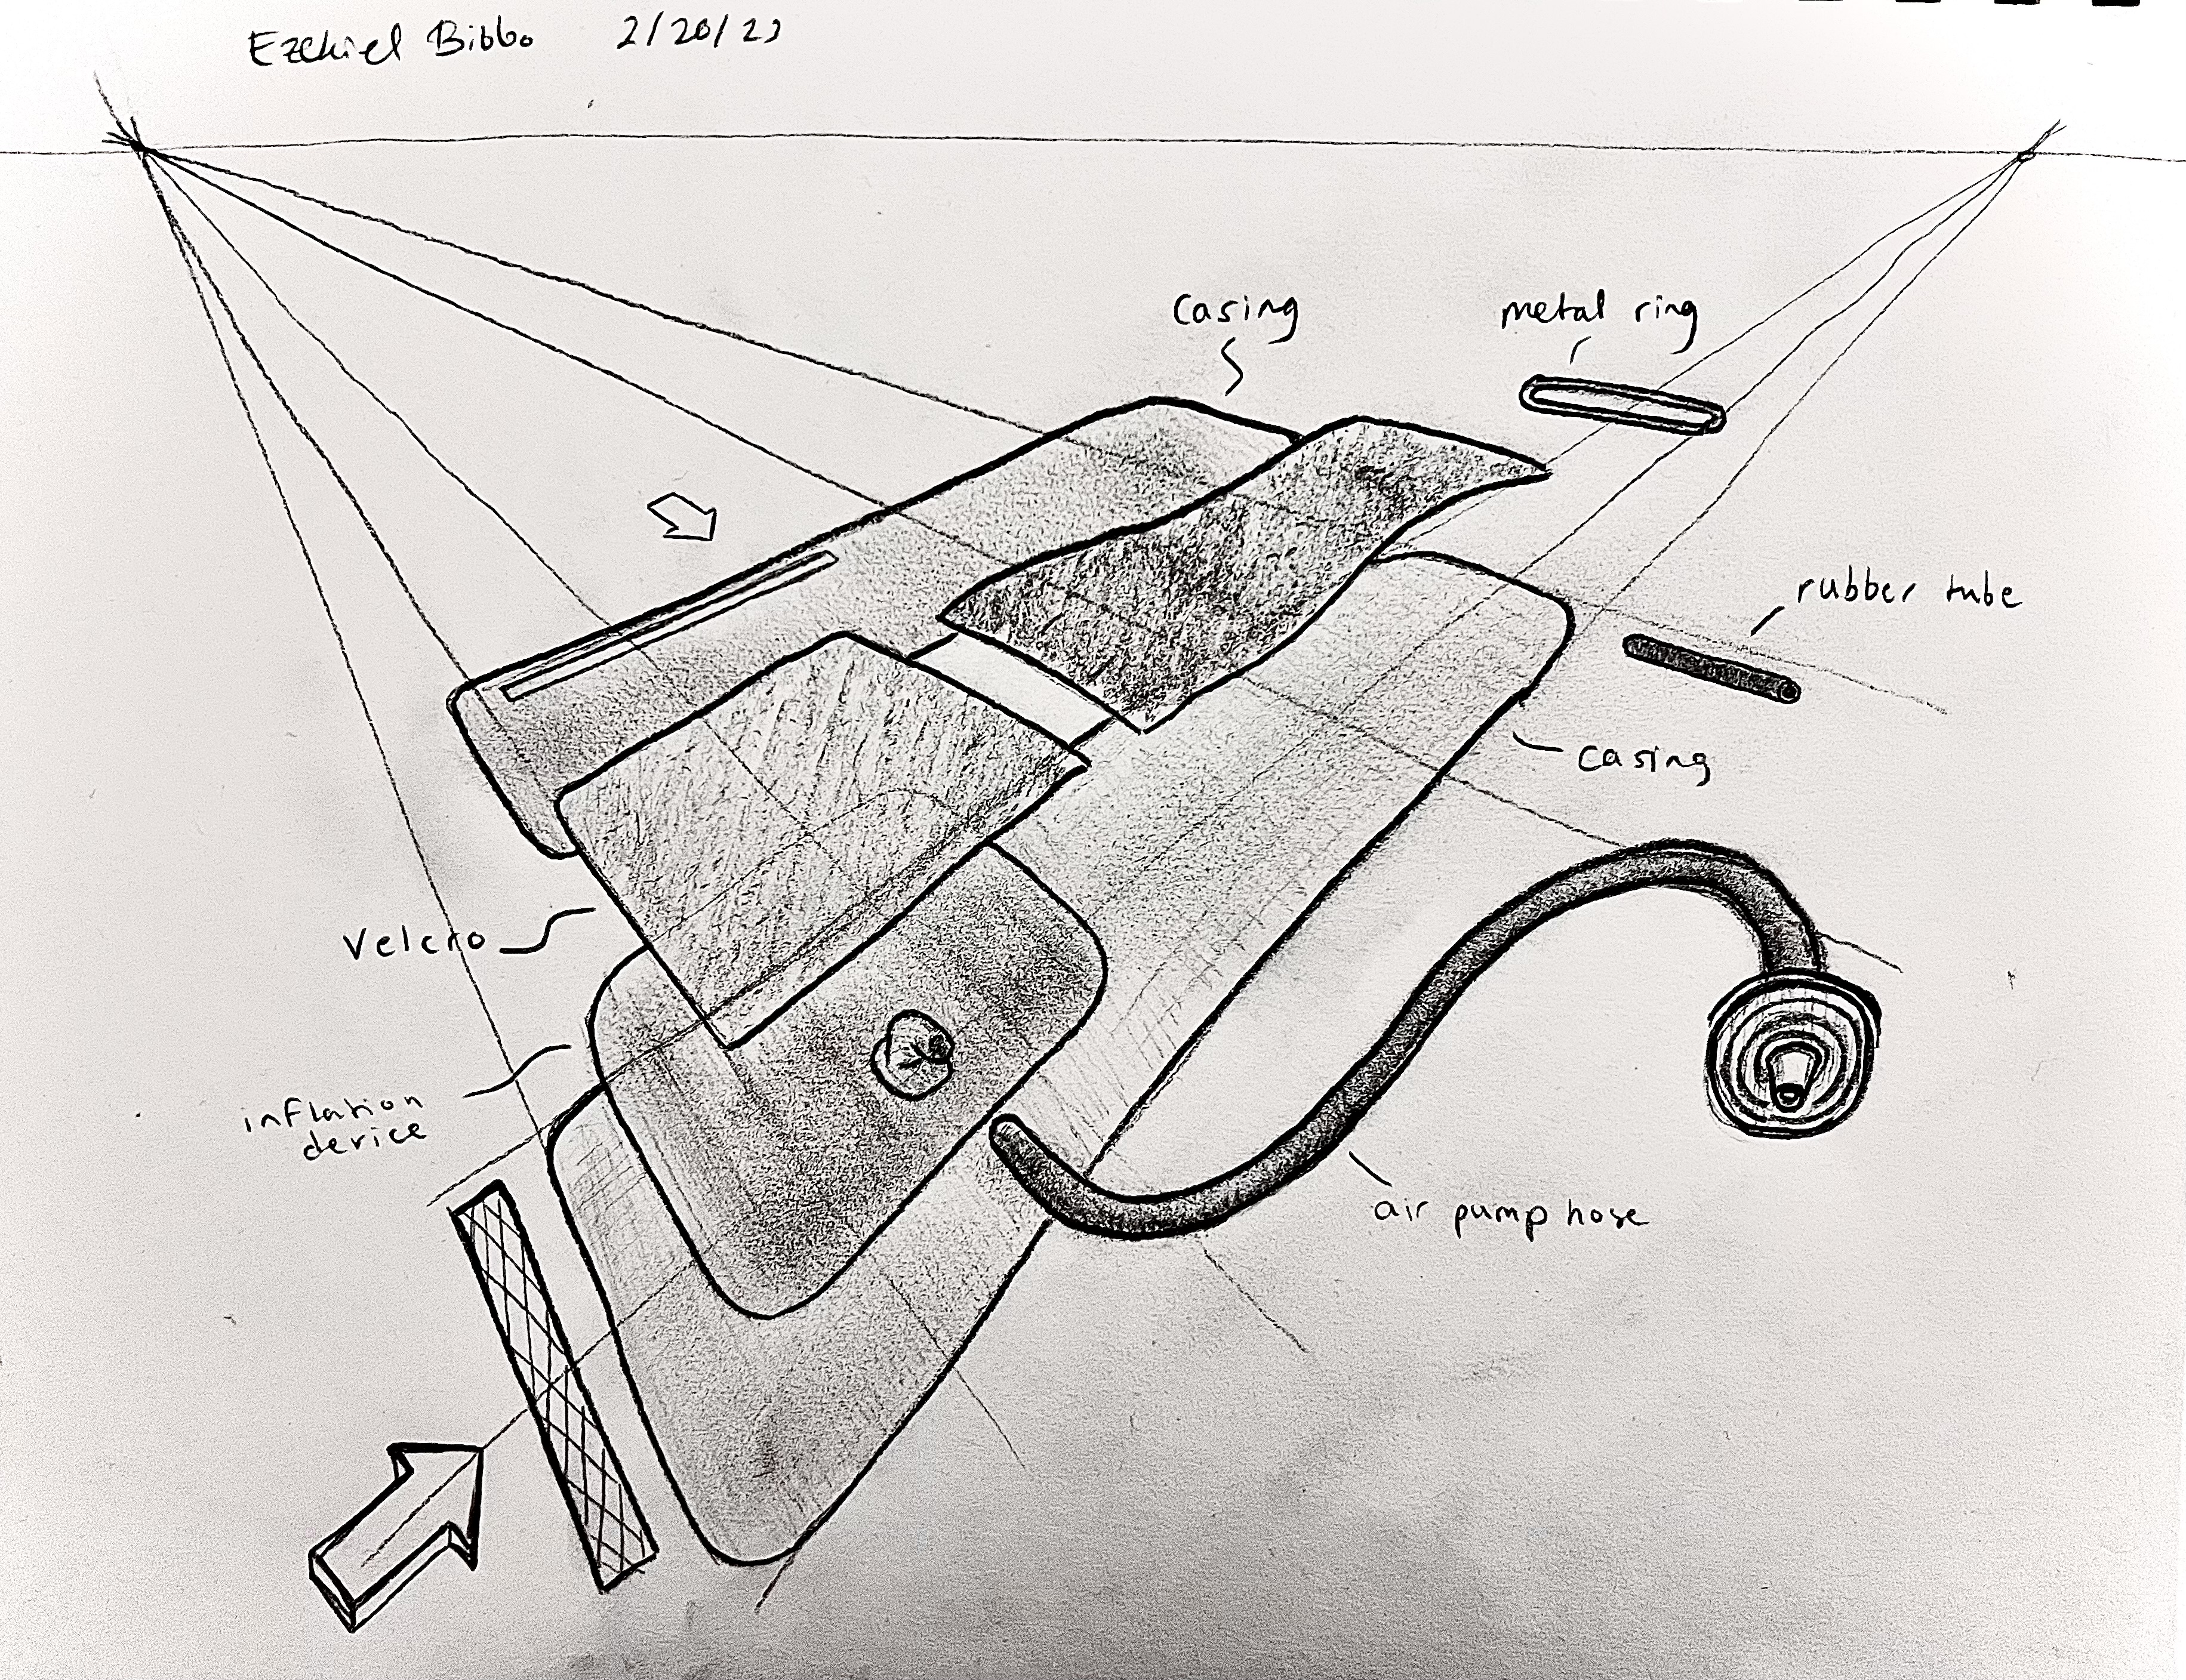
As one of our first assignments, our class was tasked with drawing a perspective drawing of a Maguja blood pressure monitor. Additionally, we were asked to make a drawing of what we found within our disassembled Maguja blood pressure monitors and arm cuff. Below are my renditions of the blood pressure monitor and it's components directionally organized, as well as the arm cuff. I particularly enjoyed this assignment due to my love of drawing.


We were then taught about the knolling technique, the process of arranging related objects in parallel or 90-degree angles as a method of organization. It incorporates both presentation and photography, and can be extremely useful for documentation. Below are the knolled components of the blood pressure monitor.

Afterwards, we started our first prototyping technique: foam core modeling. We learned about different foam core modeling skills, such as scoring and joining edges. Using an exacto knife, some sheets of foam core, and a few markers, one can quickly create a visual protoype. This technique can be incredibly helpful for rapid prototyping and demonstrating ideas that can be hard to get across without an actual tangible item. Below is the process I used to make my foam core blood pressure monitor, from construction to final design.


Our next lesson focused on sewing techniques. We disassembled a blood pressure monitor arm cuff, carefully cutting through its seams, before reassembling it. While I hadn't anticipated acquiring this skill in an engineering course, I'm certain it will prove valuable in future projects or applications.

Lastly, we learned to 3D model and 3D print. We took our 3D prints, sanded, and painted them to get the final design shown below. I designed and used vinyl to place a screen and buttons on my finalized prototype.

This project proved to be an engaging experience that broadened my artistic repertoire and enhanced my creative capabilities. I'm looking forward to using these skills in future projects!